Example issues with FXTH87xx11/FXCTH87xx02
Some devices require programming ranges of the Flash memory while preserving other areas. A good example of this is the FXTH87xx11.
The FXTH87xx11 comes pre-programmed with utility code that user programs are meant to access so it is necessary to program only part of the Flash.
Creating a reference image
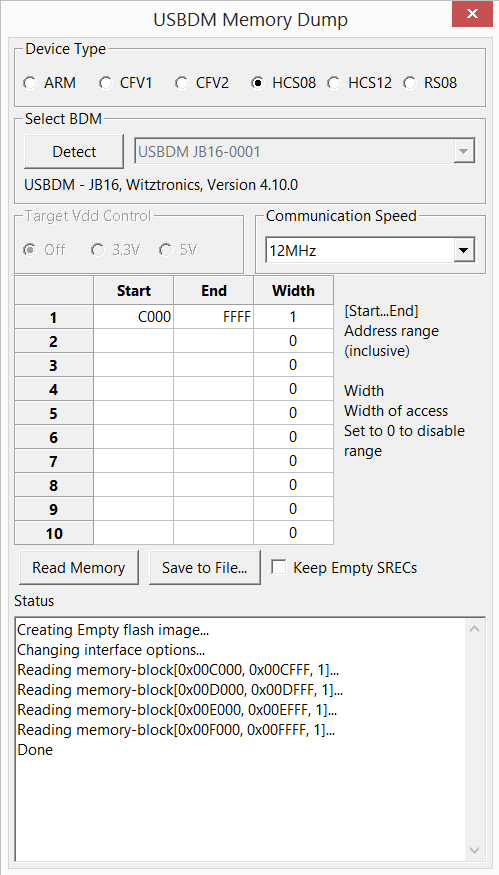
Before playing around with this chip I created an image of the chip contents.
This allows the chip to be returned to a "factory fresh" state if the firmware is accidentally erased.
| 
|
Using the stand-alone programmer
The USBDM HCS08 Programmmer provides two entries for use with this device:
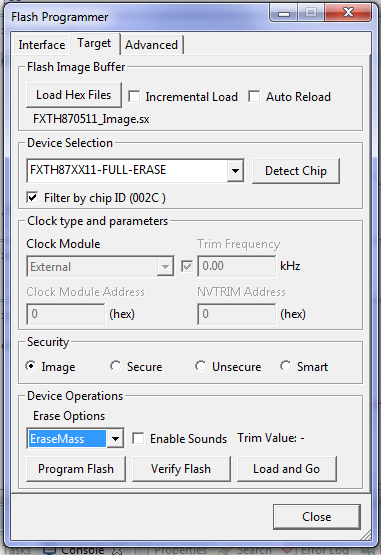
- FXTH87xx11-Full-Erase
This is a device entry that allows completely unprotected programming of the device. This can be used to re-program the device with the above image using mass-erase. - FXTH87xx11
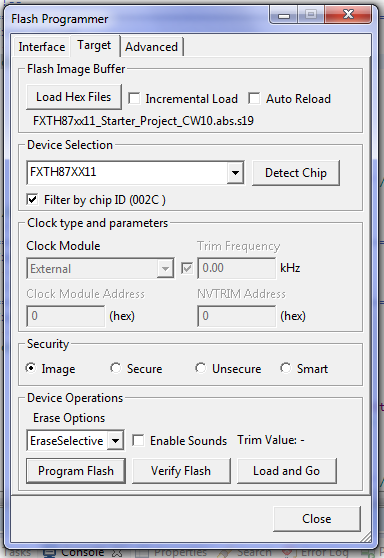
This is an entry that only allows programming the intended user area of the Flash.
Due to limitations in the USBDM programmer it is not possible to prevent you from mass-erasing the device - You have to manually select selective erase.
To restore an accidentally erased device
| 
|
To program a user program (restricted to user flash area)
| 
|
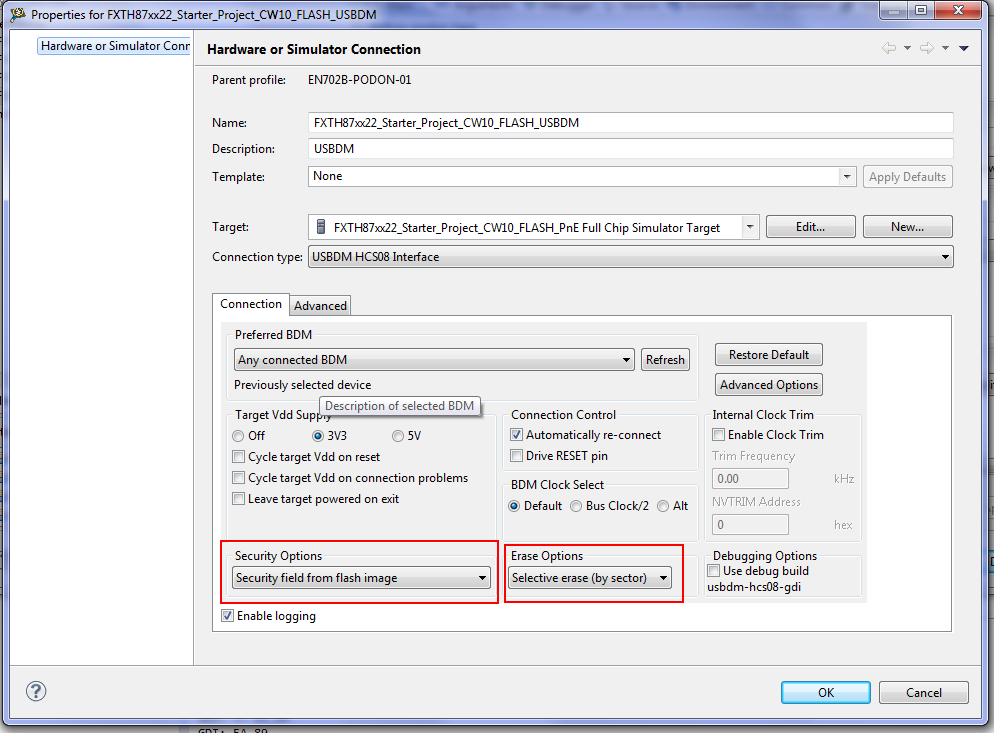
To use with Codewarrior 10.x
|

|
Reference images
I have attached the images from the two chips I used for testing in case you accidentally erase yours before you have made an image.
This should be considered a last resort as the images contains calibration data that will not be correct for another chip:
- Images from a FXTH870511/FXTH8715026, Flash_Images.sx.zip
